Part 2 - advanced
In Part 1 of this two-part guide on setting up OpenVPN on a CentO6 VPS server, we looked at why you might want to do this, and the pros and cons of doing so. We also provided step-by-step instructions for installing OpenVPN Access Server software on your VPS, and how to create a simple VPN connection using the OpenVPN Connect client.
In Part 2 (advanced) we will explore how to improve security by changing the cipher used, how to build a self-signed OpenVPN CA certificate, how to create an OpenVPN .ovpn configuration file so that any OpenVPN client can be used to connect to your server, and how to add additional users.
For these tutorials, we have chosen to use OpenVPN Access Server software, which is distinct from OpenVPN Server. OpenVPN Access Server is designed to be more user-friendly than OpenVPN Server, and allows you to perform many otherwise complex tasks using a simple GUI. The only real downside is that a license must be purchased for more than two users (starting at $9.60/year per Client Connection). However, as this tutorial is aimed at the home user building a personal DIY remote OpenVPN server, we do not consider this a major drawback.
Changing the encryption cipher
This is easy! By default OpenVPN uses 128-bit Blowfish Cipher-Block Chaining (BF-CBC) encryption. While more than sufficient for most purposes, weakness in it exist that have led to even the Blowfish cipher’s creator, Bruce Schneier, recommending users choose a more secure alternative.
As we have discussed before, we would love to see commercial VPN providers move away from NIST created and/or certified encryption algorithms, but unfortunately at this point OpenVPN does not support our favorite options - Twofish and Threefish. Most commercial providers have instead switched to 256-bit AES as standard, as this is the cipher used by the US government to encrypt sensitive information.
1. Open your OpenVPN Access Server page (by going to your Admin UI address, as discussed in Part 1 of this guide), the go-to the ‘Advanced VPN page’.

2. Scroll down to ‘Additional OpenVPN Config Directives (Advanced)’, and add the following line to both the ‘Server Config Directives’ and ‘Client Config Directives’ boxes:
cipher
e.g. cipher AES-256-CBC
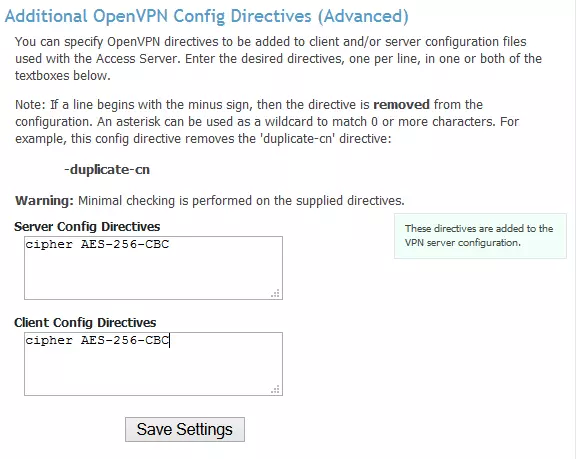
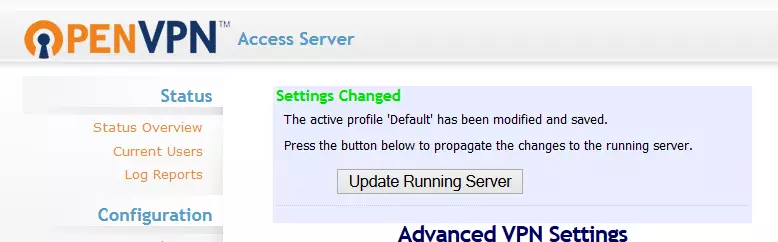
Hit ‘Save changes’.
Then ‘Update Running Server’ when prompted.
OpenVPN supports the following ciphers:
DES-CBC (Data Encryption Standard - 56-bit key, now considered insecure)
DES-EDE3-CBC (also Triple DES or 3DES - increases key size of DES)
BF-CBC (Blowfish)
AES-128-CBC (Advanced Encryption Standard)
AES-192-CBC
AES-256-CBC
Camellia-128-CBC (Camellia)
Camellia-192-CBC
Camellia-256-CBC
How to build an OpenVPN certificate
OpenVPN Connect makes life easy by creating a valid CA certificate for you, so you do not need to do this yourself. However, if you would like to create your own self-signed certificate, follow the steps below (you can also follow Steps 1 and 2 to create a certificate signing request (CSR), which can be submitted to a commercial certificate authority (CA) for signing if you wish.)
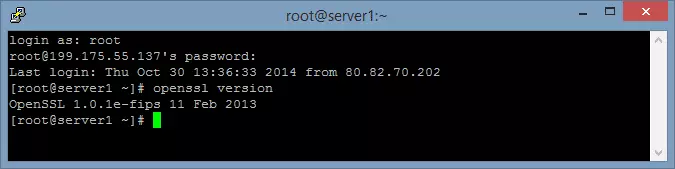
1. The required SSL libraries should already be installed on your system from when you installed OpenVPN Access Server in Part 1, but you should check by entering the following command:
openssl version
If they not, then you can get them entering by entering:
apt-get install openssl (then check again that they are installed as above).
2. It is now time to build the certificate. We will first build a certificate signing request (CSR). This can be submitted to a commercial certificate authority (CA) for signing, but in this tutorial, we will convert it into a self-signed CA certificate.
Enter:
openssl req -out server.csr -new -newkey rsa:2048 -nodes -keyout server.key
The response will be a number of questions:
Country Name (2 letter code): (letter codes available here)
State or Provence Name:
City:
Org Name:
Org Name Unit: (e.g. IT support)
Common Name: (exact name of domain or DNS name of your VPS)
Email Address:
Plus ‘extra’ attributes -
A challenge password:
An optional company name:
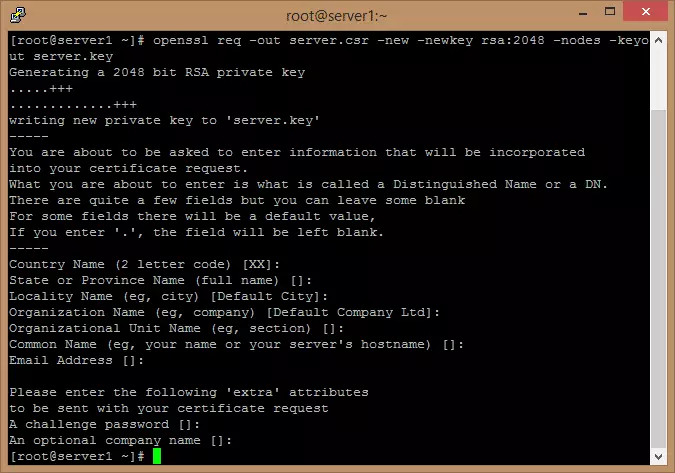
These should be filled in if you plan to submit the CSR to a commercial certificate authority (CA), but for the purpose of this tutorial, you can just hit for each one to leave the fields blank.
3. We should now have two files in your root directory, called server.csr and server.key. We will use these to create a self-signed CA certificate. Type:
cp server.key server.key.org
openssl rsa -in server.key.org -out server.key and
openssl x509 -req -days 365 -in server.csr -signkey server.key -out server.crt

We should now have 3 files: Server.key, Server.crt and Server.csr (enter dir to see the contents of the current directory).
Installing the new CA certificate
4. Download these files to your PC using an ftp client (we used the FOSS WinSCP), then install them in OpenVPN Access Server by going to the ‘Web Server’ page (under ‘Configuration’ on left of the page), and Browse to the following files:
- CA Bundle: server.crt
- Certificate: server.crt
- Private Key: server.key
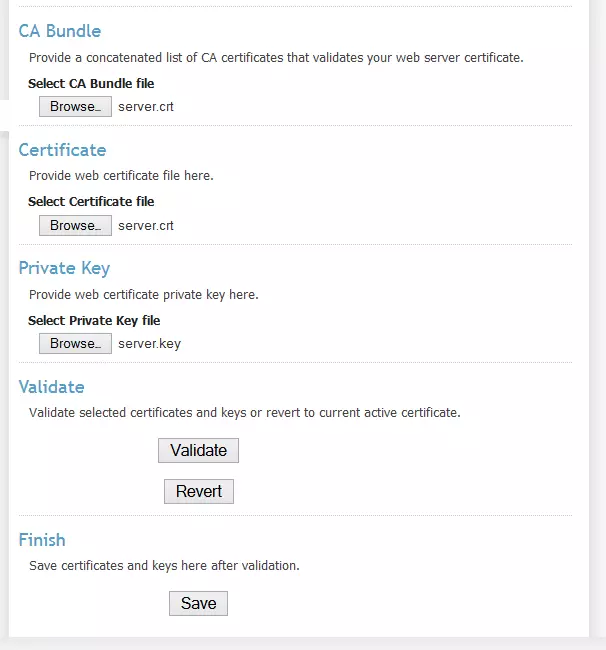
5. Hit ‘Validate’, then scroll to the top of the page - the ‘Validation Results’ should say ‘self-signed certificate’ and display the information you entered in Step 2 above. The certificate is valid for 1 year.

6. Now scroll back down to the bottom of the web page and hit ‘Save’, then ‘Update Running Server’ in the ‘Settings Changed’ dialog.
You now have validated your OpenVPN server with a self-signed CA certificate!
Creating an .ovpn file
One of the great things about using OpenVPN Access Server is that it does much of the heavy lifting for you, and one of the most useful things it does is to generate .ovpn OpenVPN configuration files automatically so that any OpenVPN client can connect to your server.
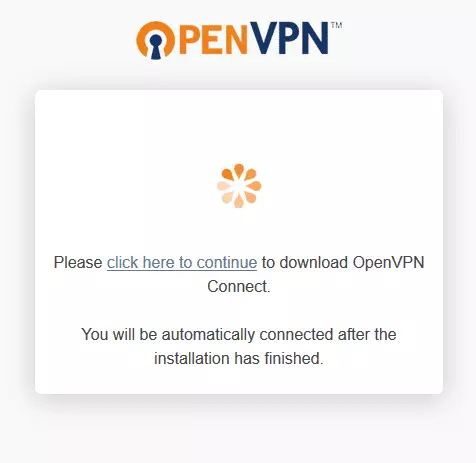
1. Login to your Client UI address (not Admin UI). When you see the automatic download screen (below), refresh your browser.
2. You will now be offered a selection of download choices. Select ‘ Yourself (user-locked profile) ’ or ‘ Yourself (autologin profile) ’ (if available - you need to set this up - see ‘Adding other users below’).
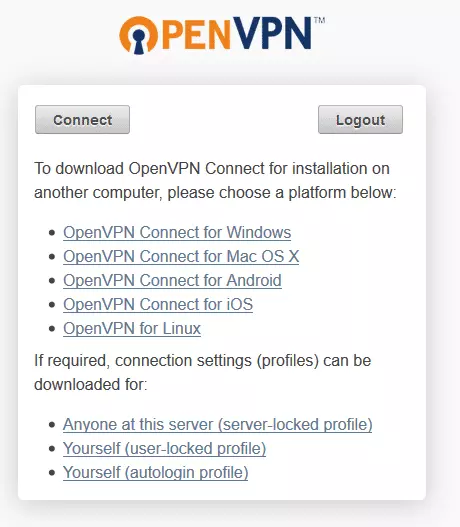
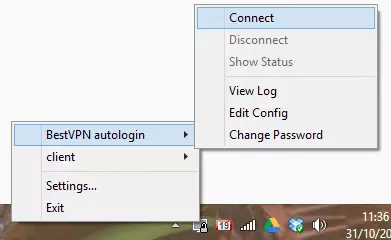
3. Import the downloaded .ovpn file into your OpenVPN client as normal (for the standard Widows OpenVPN client, simply copy the file into the OpenVPN ‘config’ folder). The .ovpn can be renamed to whatever you like in order to help identify it. Then login as normal.
Adding other users
1. Additional users can be added using the OpenVPN Access Server Admin panel by going to ‘User Permissions.’
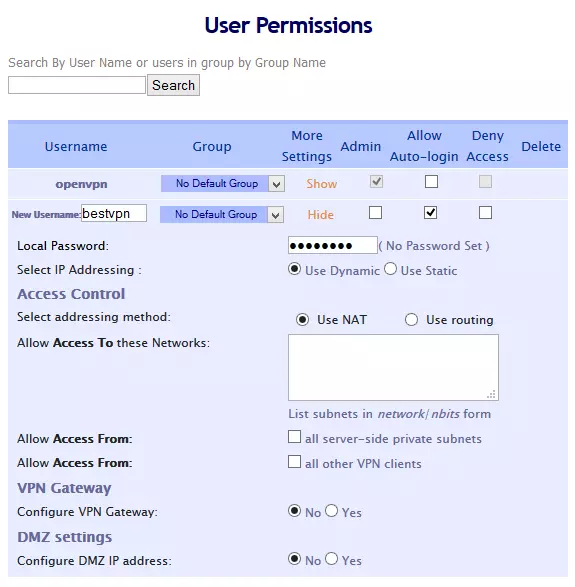
If you plan to only access your OpenVPN server from a secure location you can simplify login by selecting ‘Allow Auto-login’
The basic free OpenVPN Access Server license allows up to 2 client connections. When we setup our VPN Server, the option to add a second user was already available. If, however, this option does not appear (or you have purchased a group license and wish to add more users), you will have to add them (up to your license restriction) manually by entering the ‘# adduser’ command in PuTTY (or Terminal ect.).
Once you have added a new user you will prompted to ‘Update Running Server’ (do so).
2. Login to the Client UI address using the new username and password, and follow the steps outlined above in ‘Creating an .ovpn file’ above.
For a list of more commercial VPNs, that are easier to use, take a look at our best VPN guide.